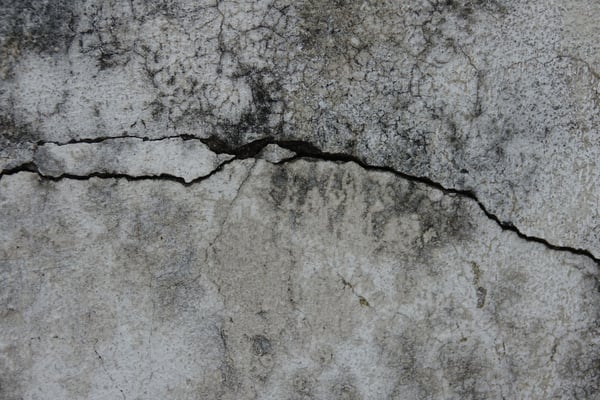
One of the most frustrating things that can happen to a homeowner is when they realize that their concrete job isn't what it should be. That sinking feeling in your stomach, fresh off the realization that you've been taken for a ride by an unprofessional concrete contractor, is something no one wants to experience. Luckily, there are some easy steps you can take to fix a bad concrete job and get your driveway, garage floor, or sidewalk looking great again.
Step One: Get The Right Tools Or Hire A Qualified Contractor For The Job.
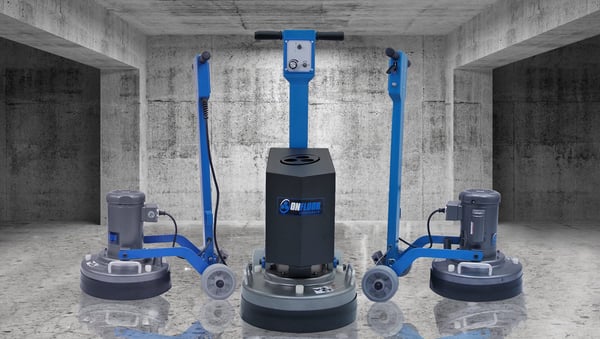
The right tools can make a difficult job seem easy, and there are specific tools you will need to fix your concrete problem. You'll want to pick up some patching cement as well as a trowel with at least an inch wide blade on it. For big jobs, you may need a pry bar and even an angle grinder.
However, if your first concrete contractor really did a crap job, you may want to hire a professional contractor who knows how to fix concrete problems, or at least someone with the tools and expertise necessary. Not only will they have better results, but they could also save you money in the long run.

Step Two: Know Your Concrete Problem Before You Start.
You will want to make sure that you understand what work needs to be done before starting the job. Sometimes it's impossible to determine how bad your concrete problem is until you take the time to chip away at it yourself. So, if in doubt, take some test samples of where there might be issues with compressive strength or other structural integrity issues so that you can match up the right type of patching cement for your project before committing too much effort to fix this area on your property.
Step Three: Remove And Replace As Necessary For An Ideal Fix.
If it's cracked concrete, a flaking one, or is otherwise damaged beyond repair, you will need to remove the rest of the old concrete. You can use a chisel and hammer if your patching job needs are small enough that this process won't cause too much damage. However, if your problems are more complex than simple cracks, then you may want to consider using an angle grinder instead. The good news is that any type of removal should be pretty easy with these tools since most types of bad concrete jobs come in one large piece, which makes for convenient lifting when done correctly.
Step Four: Mix The Concrete Patching Cement.
You'll want to mix your patching cement with water according to the package instructions, and then use it immediately after mixing so that you can quickly put on a uniform layer which will set up in place nicely within fifteen minutes or less depending on conditions. You may need more than one batch of this mixture if you are covering a large area since many concrete mixers have limited capacities for larger jobs. When applying the concrete mix, apply it evenly across the entire surface before smoothing out any low spots as necessary using either your trowel or a small rake.
Step Five: Allow For A Minimum Of 2 Days To Dry And Cure Before Walking On The Concrete Again.
When you finish applying your concrete patching mixture, allow the new concrete to rest for at least two days before walking or driving on it again. You can always speed up this process by using fans in the area, which will dry out the cement more quickly; however, be sure not to place any type of heat source too close (less than four inches away) since that could cause burn marks across your new surface if done incorrectly which would make for an even uglier fix than what you had originally! But assuming everything goes according to plan with no mishaps or further damage along the way, after around 48 hours, you should have your new solid concrete surface ready. And you should be able to drive or walk on your new concrete surface with no issues whatsoever.
Step Six: Use The Right Concrete Repair Products For Your Driveway Or Garage Floor.
There are different types of concrete repair products available depending on your particular problem with your surface. For example, if there are no structural integrity issues but only a couple of isolated cracks in the area that need filling, then a standard type of crack filler will do nicely. However, suppose you have larger problems like large patches missing from your driveway due to sinking or something worse happening over time. In that case, this may call for more extensive work involving things like patching cement and fiber reinforcement materials since these kinds of repairs can sometimes include adding new layers onto the existing concrete surface.
Step Seven: Finish Up With A Protective Coating
Plan on using your concrete surface regularly now that it's been repaired. Adding an extra coat of sealant will help prevent things like oil stains and other types of staining from happening in the future and protect the concrete against elements that can cause damage over time if left unprotected. This is especially important for driveways since they tend to take more abuse than most surfaces around homes due to their constant exposure to sunlight and driving rain and snow during winter storms too! So be sure that you finish up this process by applying a thin layer of the protective coating so that your new concrete patching job holds out for years without problems along the way.

Can You Pour New Concrete Over Old Concrete?
No, you can't pour concrete over old concrete. You have to remove the bad concrete before pouring a new layer of fresh cement on top if it's going to be for structural purposes. If you're patching a couple of isolated spots where there is no risk of things caving in, then not removing any existing layers won't be a problem.
How Do You Deal With A Concrete Contractor Who Did Poor Work?
A concrete contractor who did poor work is probably going to be a nightmare to deal with. In most cases, it's best to avoid them entirely and find someone else instead, but that isn't always an option either. When dealing with bad contractors, try your best not to let the situation escalate into an argument because they're almost never worth it. After all, these people are usually very good at avoiding accountability for their actions by dragging out disputes as long as possible before finally giving in or running away from the problem altogether, which only makes things worse.
However, if you find yourself dealing with these types of contractors, you can try going to the small claims court with copies of your original contract paperwork in hand. But only turn to this if you have solid proof and documentation showing them doing poor work, which can easily be proven legally because otherwise, it's just going to waste more time and money for both parties.

Final Reminders
So, what are some of the best tips to remember when pouring concrete? Well, firstly, you need to make sure that your cement mixture is mixed thoroughly before it's poured. This will help ensure that all parts of the mix have an equal amount of water and other ingredients like gravel or sand. Secondly, pouring slowly will help ensure that there aren't any air bubbles on the new surface either. And finally, if possible, try not to walk on your fresh layer too soon after finishing up because this can cause things like footprints and tire tracks which won't wash away easily over time.

7 comments