

Updated June 14, 2023
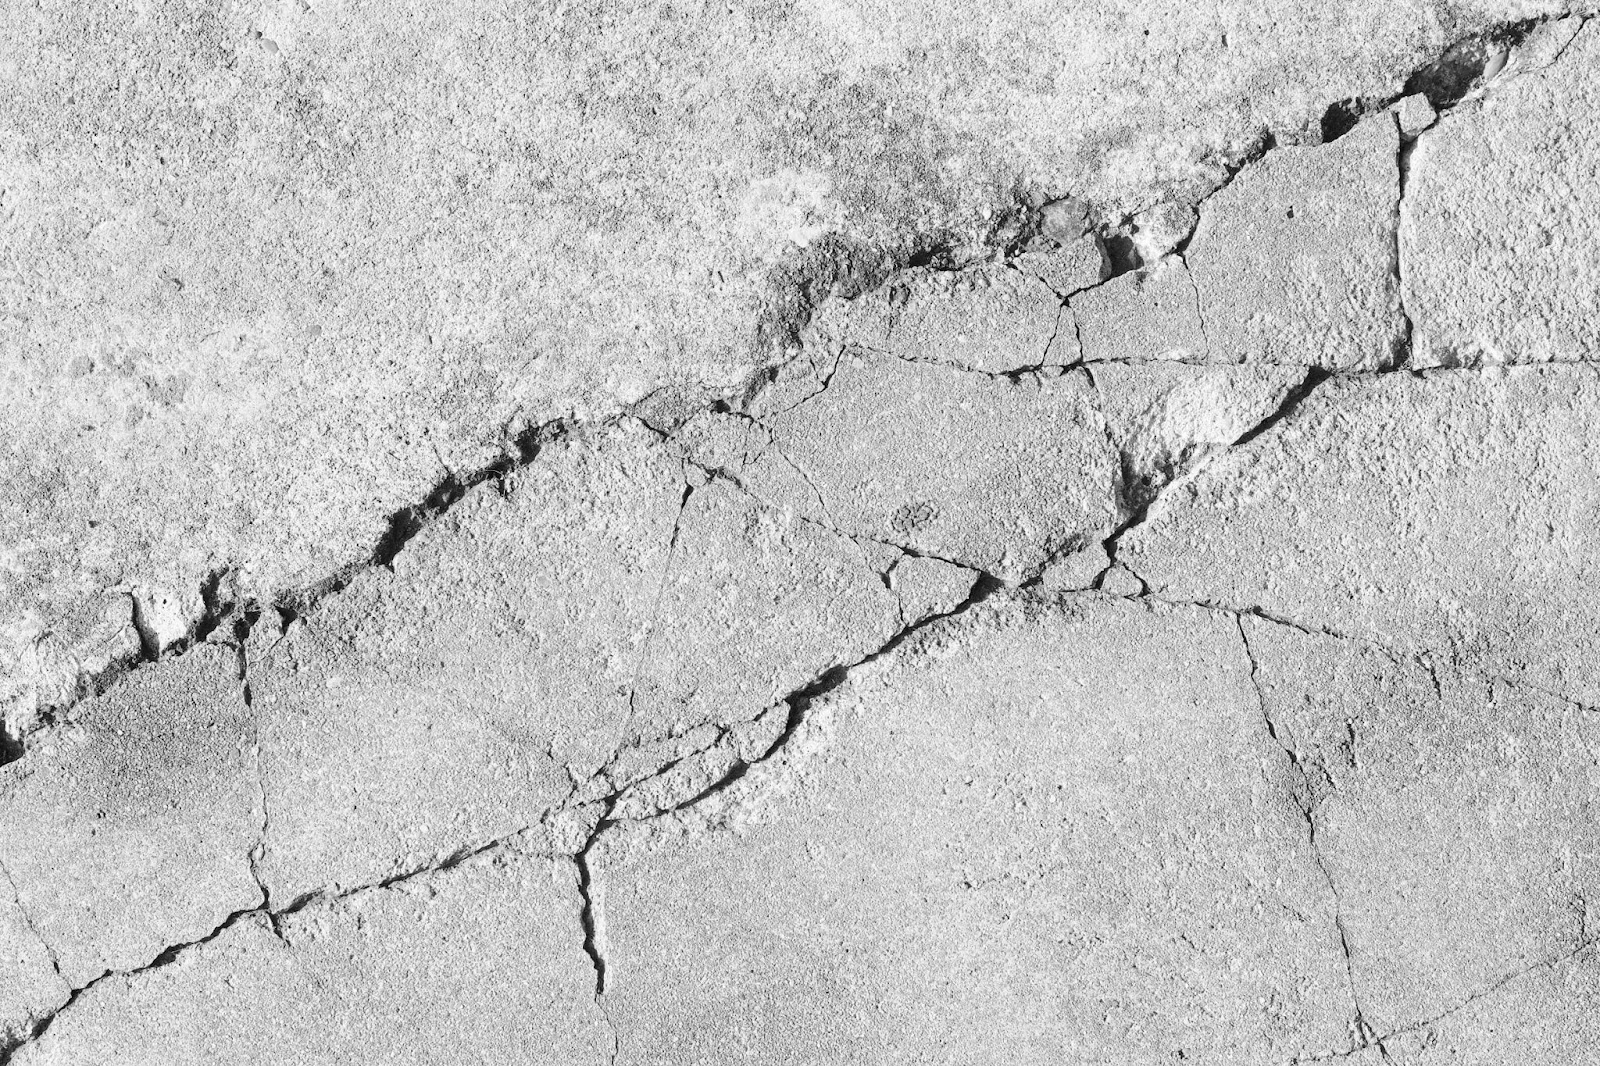
Has the once-smooth feeling you got when you pulled into your concrete driveway become a nightmare because of potholes? A concrete driveway should last up to 25 years, but that is often not the case, especially with factors like usage and maintenance. The time to resurface your concrete driveway might be near if deep cracks and other signs have appeared.
You can get those driveway cracks off your existing concrete surface and restore the evenness in a few steps. A few tools, like a pressure washer, will be handy for cleaning the existing concrete driveway before resurfacing. Then, you can apply the resurfacer, smooth it, and apply a sealer to keep it from breaking and flaking during the thawing cycles.
Concrete resurfacing will transform your existing driveway into something worth driving out and in every day without worrying. You can proceed to stain it for a modern facelift, making it more visually appealing. In the meantime, this brief guide will take you through the steps of concrete driveway resurfacing and a few maintenance tips.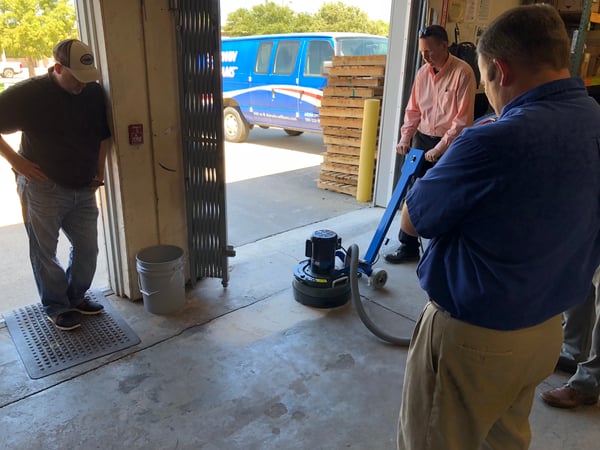
What is Resurfacing, and Why Should You Do It?
Let’s begin by addressing concrete resurfacing and how it applies to your driveway. This practice involves placing a new material (a new layer) over an existing concrete surface. Depending on the size of the work area, you can resurface it in a single day.
With that, driveway resurfacing involves placing a new surface over the old one. The new concrete slab covers the blemishes of the previous one.
Knowing when to repair or replace your driveway is essential. Sometimes, going for a complete replacement might not be necessary. A simple application of a concrete resurfacer might be all you need to give it a new look.
Here are signs you should consider before opting for a concrete driveway resurfacing:
- There are potholes on the surface
- Large cracks are present
- There is surface discoloration or stains
- The old driveway is breaking away
- Rainwater settles on the surface
It is not advisable to prolong this project if you notice these signs. The standing water that seeps underground after rainfall instead of flowing into the drainage might ultimately cause water seepage in your basement. That is a nightmare for homeowners.
How to Resurface Concrete Driveways
Resurfacing driveways is an easy process if you’ve done concrete work before. The method includes the following steps
1. Surface Cleaning
The first thing you’ll do to the damaged driveway is to remove dirt and other debris. Using a broom and foamy water should do the job. Otherwise, use a pressure washer for a more thorough cleaning.
Ensure that loose materials are removed from the surface. Pay attention to the cracks and ensure you mark the spots for filling during the repair.
2. Crack and Pothole Repair
Leaving small cracks unattended will lead to larger ones. Once cleaning is done, you must repair the visible cracks before moving on to the next step.
A concrete patching compound should be enough to repair the damage. Use a trowel to ensure the compound is applied adequately in the holes. Then, smooth the surface.
Pay attention to the patching material. Some are pre-mixed, meaning you don’t have to mix them before use. Repairing the cracking will get things ready for the next step.

3. Resurfacer Application
It is time to bring in the primary material to give the driveway a new look. The concrete resurfacer is easy to use and is available in most stores. You’ll also find instructions on how to use it.
Nevertheless, follow the steps below to mix it properly before applying it to the old concrete ground.
- Pour three and a half quarts of mixing water into a five-gallon bucket.
- Stir with a paddle mixer.
- Pour the resurfacer slowly while stirring.
- Continue stirring until you achieve a lump-free texture.
- Add water and mix some more if the mixture is too thick. However, ensure it is not too watery. The texture should be syrup-like.
Paddle mixers are best used to mix the resurfacer. If you have a power drill, mix slowly to avoid creating lumps. Avoid hand mixing, as it often results in lumps.
Once mixing is complete, apply the mixture to the ground in small sections. One square foot should be enough before you use a long-handled squeegee to scrub and spread it on the concrete. Move the tool back and forth until you achieve an even spread.
4. Smooth and Apply Non-slip Finish
Smooth your resurfaced surface and allow it to set for five minutes. Then, apply a non-slip finish. This finish is vital, as your concrete driveway will be wet during rainy days.
Use a wide-head concrete broom while applying the non-slip finish. Also, ensure you move the tool in the same direction with the same speed. That will give the ground a consistent, brand new finish.
5. Drying
While concrete often takes 28 days to dry, you don’t have to wait that long with resurfacers. 24 hours is enough to give it before moving on to the next step.
6. Sealing the Concrete Overlay
Physically observe if the resurfaced area is dry enough. Then, you can apply a concrete sealer to prevent stains and fading. It will also protect the area against the freeze-thaw weather cycles that cause breakage and flakes.
Use a paintbrush to apply two coats of sealer to the area. However, you must allow the first coat to dry before applying the second one.
.jpg?width=600&height=336&name=Josh%20Payton%20Twin%20Cities%20Garage%20Experts%20IMG_0052%20(1).jpg)
Things to Consider When Resurfacing
Now that you’ve completed the resurfacing process, it is time to consider a few things. Let’s begin with factors that can cause major or minor damage to the concrete coating or driveway. They include the following:
- Vehicle traffic
- Tree roots
- Inadequate edge support
- Frost heaves
Vehicle and foot traffic are things that you can’t control. After all, people and cars will use the ground. You can guard against the weather (freeze-thaw cycles) with ingenuity.
Placing expansion joints during resurfacing can augment the efforts of the sealers in protecting the concrete. You can do it by placing gaps between the concrete slaps.
Extras for a Better Look
You can apply an epoxy coating to your concrete driveway for better visual appeal and durability. Epoxy is resistant to most chemicals that would damage concrete. That includes stains like tire marks and oil.
Opting for this extra durable surface will require a little machinery. Floor grinders will come in before applying the epoxy. Other machines may include vacuums (dust collection), shot blasters, etc.
This process takes you into professional territory. You’ll need an expert for the job.
Do It Yourself or Hire a Contractor?
Fixing the cracking and applying the concrete coating can cost thousands of dollars. It depends on the area and how much work has to be done on your driveway.
The process is simple enough for a do-it-yourself project. However, hiring a professional for a higher standard of finish is best.
Conclusion
Resurfacing differs from applying a concrete overlay, although they have similar processes. An overlay is thinner than a resurfaced area and is often used to add texture and color.
Epoxy and asphalt can be used to enhance the look and durability of your driveway. They can even better protect against the weather. However, the cost is higher than concrete.

Connect with us
Recent Posts

WANT 10% OFF YOUR FIRST ORDER?

1 Comment