Among all of the parts, the sander pads are the ones that does the dirty work. It brushes of the concrete and sands them to make them look and feel good. Once the pads wore off due to heavy use or on rough conditions, they may just fall off. You may also need to remove the sander pad if you are to replace the grommets or replace the timing belt. This article will show you how easy it is to remove and replace a grommet type sander pad on an OnFloor OF16S EZV Sander. If you have a bolt-on type sander pad, then you can also check this article on how to remove it.
Needed Tools
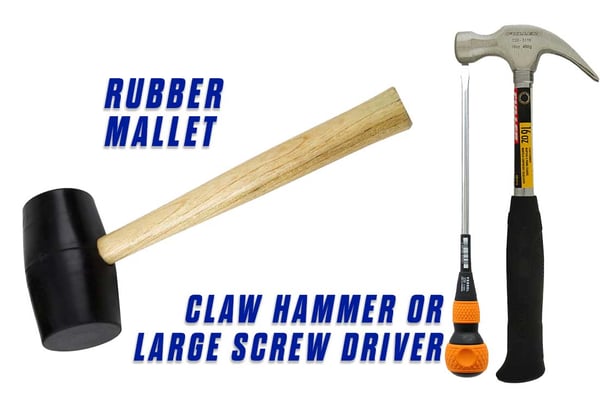
Rubber Mallet & Claw Hammer or Large Screwdriver
The claw hammer or the large screw driver is used for removing the sander pads. The rubber mallet on the other hand is used for reinstalling them.


Replace a Grommet Type Sander Pad on an Onfloor OF16S EZV Sander
Reposition the handle
Please be sure that the power cord is unplugged before servicing.
Before we start, please make sure the machine is not plugged into the power source, utilize the lockout tagout procedure and refer to the EZV manual.
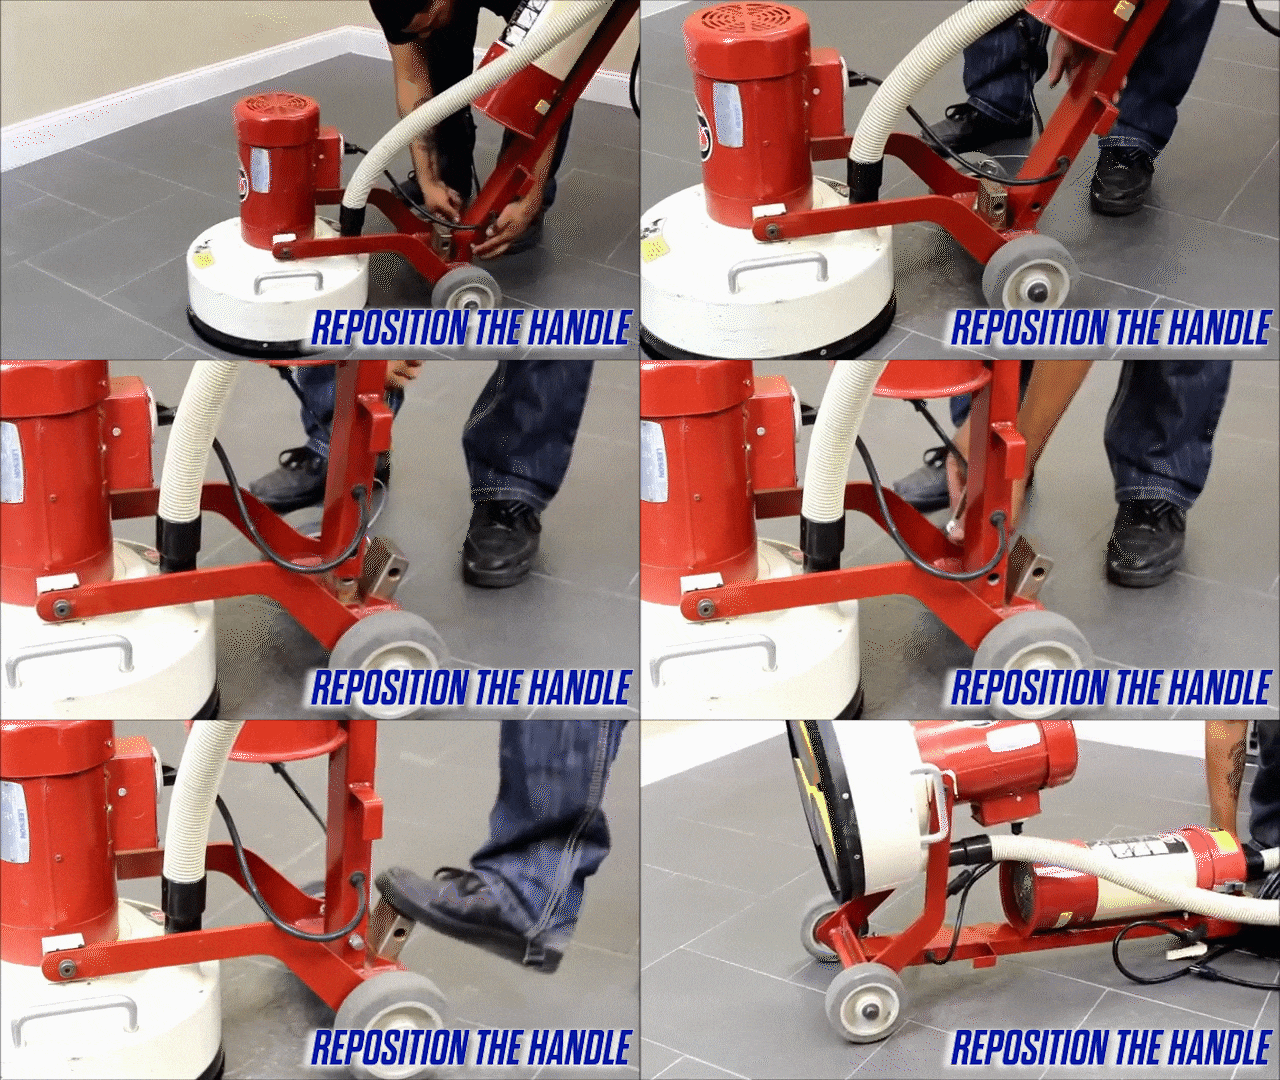
To begin working, pull the pin out of the handle, reposition the handle to the upright position, reinstall the pin, and then lay the machine back and rest it on the floor.

Remove the Sander Pads
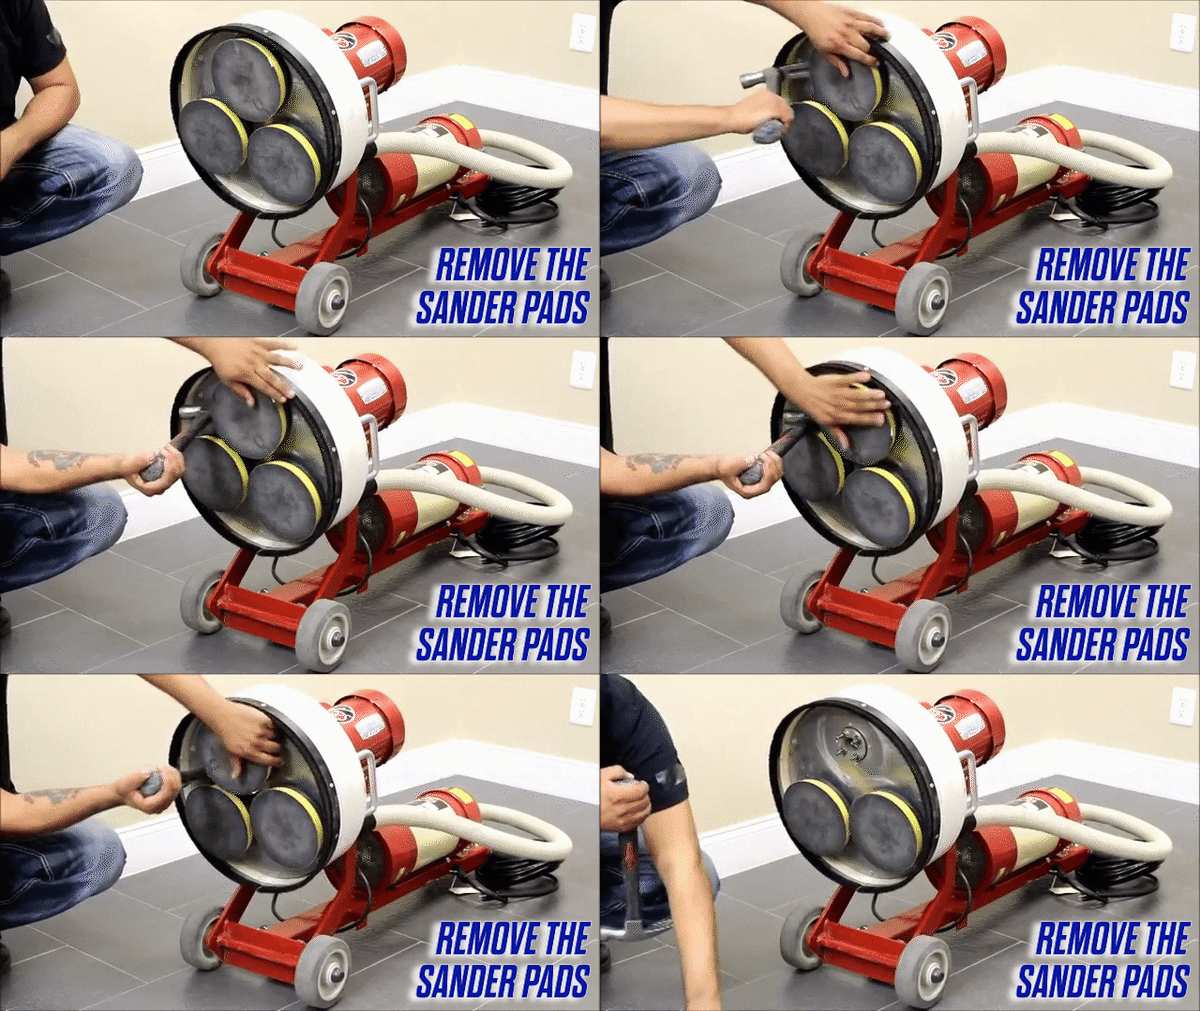
Loosen the pads from the pegs by lifting them with a long screwdriver or a claw hammer until they wiggle off by hand. Continue until all three pads are removed.

Reinstall the sander pads
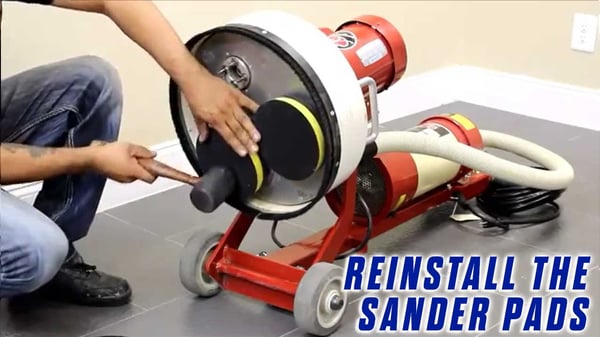
Position a new pad onto the sander, carefully aligning the grommets onto the pegs.
Then tap down the sander pad with the rubber mallet until it's flat on the machine and secure. Repeat this with the remaining two pads.

Once all three pads are securely on you're ready to go.
If you feel that there is something wrong with your equipment and you can't follow through the steps, you can always contact Onfloor so we can help you out.
Now that you know how to replace the timing belts of your OnFloor OF16S EZV Vacuum Sander, you can also check our article about maintaining epoxy coated floors because Epoxy coated concrete is an attractive and resilient flooring that can withstand damage for years to come—but only with the right maintenance. You can also check our online store and compare products and find what suits you best.
YOU CAN ALSO CHECK THE FULL VIDEO OF THE TUTORIAL HERE:
Transcription - How to Replace a Grommet Type Sander Pad on an Onfloor OF16S EZV Sander
This instructional video will show you how to replace a Grommet Style Sander Pad on an EZV Sander.
To do this, you'll need a claw hammer or a large screwdriver and a rubber mallet.
Before we start, please make sure the machine is not plugged into the power source. Utilize the lockout, tagout procedure, and refer to the EZV manual.
To begin working, pull the pinout of the handle. Reposition the handle to the upright position. Reinstall the pin and then lay the machine back and rest it on the floor.
Loosen the pads from the pegs by lifting them with a long screwdriver or a claw hammer until they wiggle off by hand. Continue until all three pads are removed.
Position a new pad onto the sander, carefully aligning the grommets onto the pegs.
Then tap down the sander pad with the rubber mallet until it's flat on the machine and secure.
Repeat this with the remaining two pads.
Once all three pads are securely on you're ready to go.

1 Comment