

If you notice that one of your sander pad is not turning or it's wobbling, then your belt may be broken. There are a couple of reason on why your belts get broken and one of them would be related to studs that we find in the floor, studs left behind from a tool, a piece of equipment that's been bolted down to the floor, or a wall that's been bolted down to the floor. It may also be that your belt has worn out from over usage. What ever it may be, we need to replace the belts and this article will walk you through the process.
Needed Tools
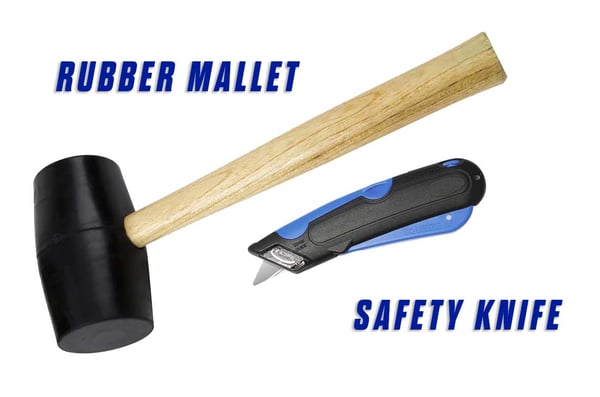
Rubber Mallet and Safety Knife
You will need the rubber mallet for the removal and installation process. The safety knife on the other hand is for cutting the timing belt loose.
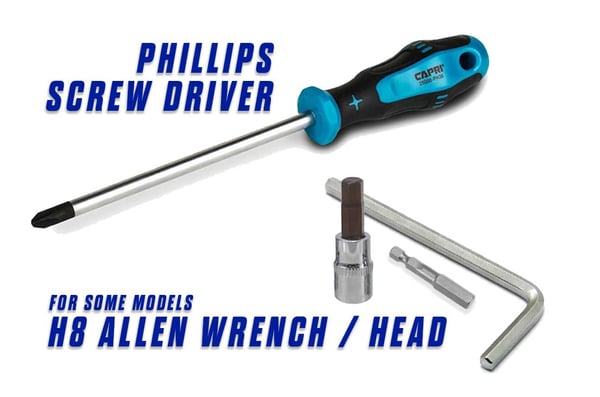
Phillips Screwdriver or H8 Allen Wrench Head
These tools are used in removing the sander plate out of the machine.
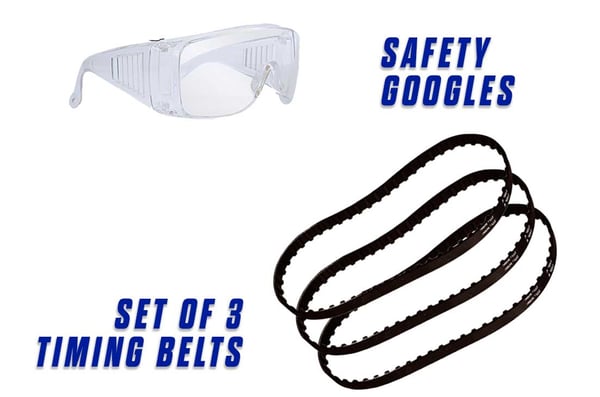
Safety GOGGLES and 3 new Set of Timing Belts
Safety googles needs to be worn through out the entire procedure.

Replace the timing belts on an Onfloor OF16S EZV Sander
REPOSITION THE HANDLE
Please be sure that the power cord is unplugged before servicing.
Before we start, please make sure the machine is not plugged into the power source, utilize the lockout tagout procedure and refer to the EZV manual.
To begin working, pull the pin out of the handle, reposition the handle to the upright position, reinstall the pin, and then lay the machine back and rest it on the floor.
test the timing belts
First, you should test the timing belts before you replace them using the following steps. Turn one of the sander pads by hand. When you're turning the pad, the other two should also turn in unison. If one or both of the other pads do not spin, then the belts have either become worn and have come loose, or they're broken. If this is the case, then you must replace all three belts.

remove the sander pads
Loosen and remove the sander pads using the long screwdriver or a claw hammer.

If your pads are bolt-on style pads, then you'll need to remove the bolts first. You can also check on this article on how to remove a bolt-on sander pad on an OnFloor OF16S EZV Sander.

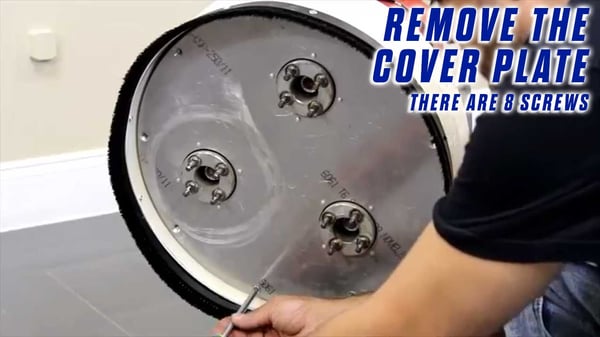
Remove the cover plate
Using the #3 Phillips-Head Screwdriver, or the H8 Allen Head if your model requires it, remove the eight screws that attach the sander plate to the machine.
Remove the cover plate by sliding the flat screwdriver between the cover plate and the inner drum and prying it off. You may also find it easier to just stand the machine up and allow the cover plate to fall off.
The machine shown in this video does not have belt plates covering the belts. If your machine does have them, then you will need to remove the three plates by taking out the nine screws that attach them before going to the next step.
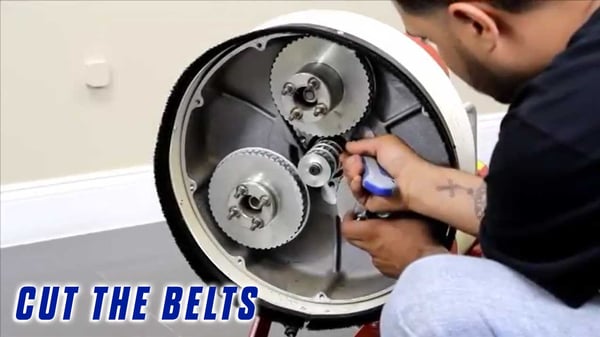
Cut the old belts
Now, carefully cut all three old belts off with the safety knife and remove them.
install the new belts
To install the new belts, begin with the furthest gear in on the center pulley. Apply the belts to the center pulley first. Line up the notches on the belt with the teeth on the gears. Then wind the belt until it catches and is taut on the gear. Then repeat this with the other two belts and make sure that all three spin properly.
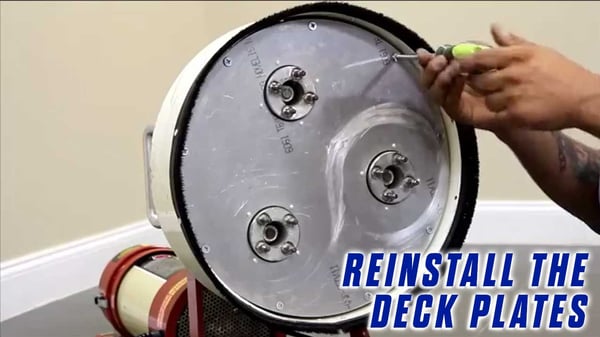
Reinstall the deck plates
Once all three belts have been installed, reinstall the deck plates if your machine has them. If not, just reinstall the sander plate with all of the eight screws.
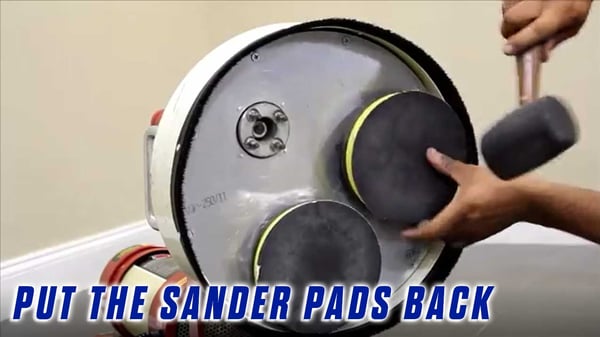
put your sander pads back on
Now, put your sander pads back on. We are showing grommet style pads here. If you have bolt style pads, you'll need to bolt those on.
You can also refer to this tutorial if you have a bolt-on style pads.
If you feel that there is something wrong with your equipment and you can't follow through the steps, you can always contact Onfloor so we can help you out.
Now that you know how to replace the timing belts of your OnFloor OF16S EZV Vacuum Sander, you can also check our article about maintaining epoxy coated floors because Epoxy coated concrete is an attractive and resilient flooring that can withstand damage for years to come—but only with the right maintenance. You can also check our online store and compare products and find what suits you best.
YOU CAN ALSO CHECK THE FULL VIDEO OF THE TUTORIAL HERE:
Transcription - How to Replace the Wheels on an Onfloor OF16S EZV Sander
This instructional video will show you how to replace the timing belts on your EZV sander.
Please be sure that the power cord is unplugged before servicing.
The tools you'll need for this procedure are as follows, a safety knife, a rubber mallet, a set of three timing belts, a #3 Phillips Screwdriver, some models may need an H8 Allen Wrench or screwdriver head, and a pair of safety glasses.
Before we start, please make sure the machine is not plugged into the power source, utilize the lockout tagout procedure and refer to the EZV manual.
To begin working, pull the pin out of the handle, reposition the handle to the upright position, reinstall the pin, and then lay the machine back and rest it on the floor.
First, you should test the timing belts before you replace them using the following steps. Turn one of the sander pads by hand. When you're turning the pad, the other two should also turn in unison. If one or both of the other pads do not spin, then the belts have either become worn and have come loose, or they're broken. If this is the case, then you must replace all three belts.
Loosen and remove the sander pads using the long screwdriver or a claw hammer.
If your pads are bolt-on style pads, then you'll need to remove the bolts first.
Using the #3 Phillips-Head Screwdriver, or the H8 Allen Head if your model requires it, remove the eight screws that attach the sander plate to the machine.
Remove the cover plate by sliding the flat screwdriver between the cover plate and the inner drum and prying it off. You may also find it easier to just stand the machine up and allow the cover plate to fall off.
The machine shown in this video does not have belt plates covering the belts. If your machine does have them, then you will need to remove the three plates by taking out the nine screws that attach them before going to the next step.
Now, carefully cut all three old belts off with the safety knife and remove them.
To install the new belts, begin with the furthest gear in on the center pulley. Apply the belts to the center pulley first. Line up the notches on the belt with the teeth on the gears. Then wind the belt until it catches and is taut on the gear. Then repeat this with the other two belts and make sure that all three spin properly.
Once all three belts have been installed, reinstall the deck plates if your machine has them. If not, just reinstall the sander plate with all of the eight screws.
Now, put your sander pads back on. We are showing grommet style pads here. If you have bolt style pads, you'll need to bolt those on.
If you need help with pad installation, see our other videos for grommet and bolt-on style pad installation instructions.

Connect with us
Recent Posts

WANT 10% OFF YOUR FIRST ORDER?

1 Comment